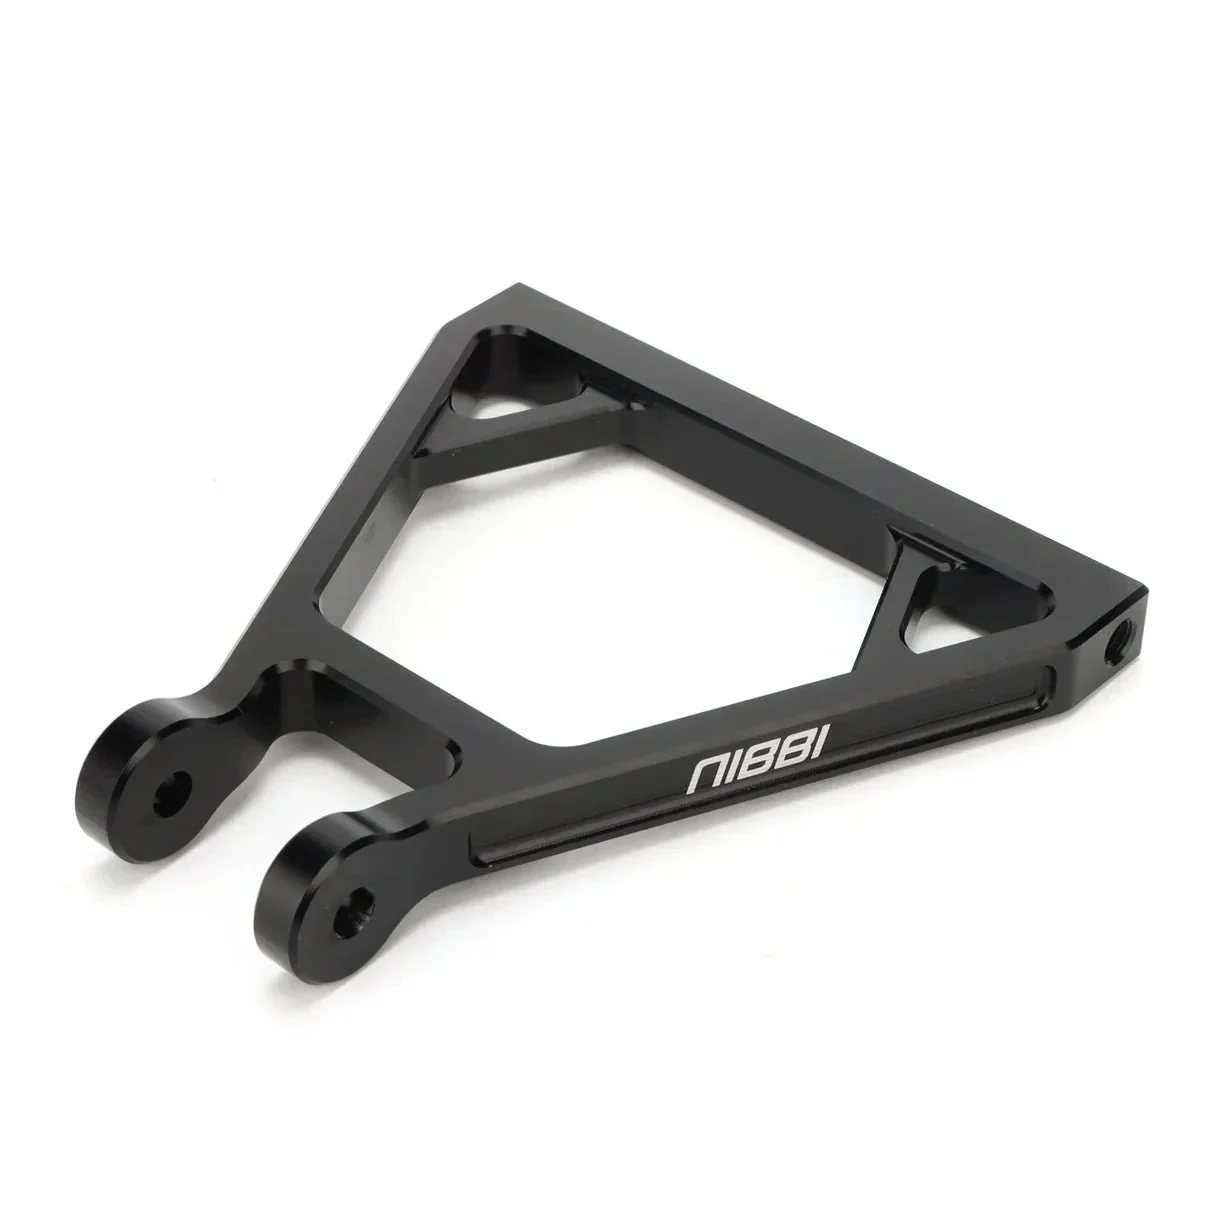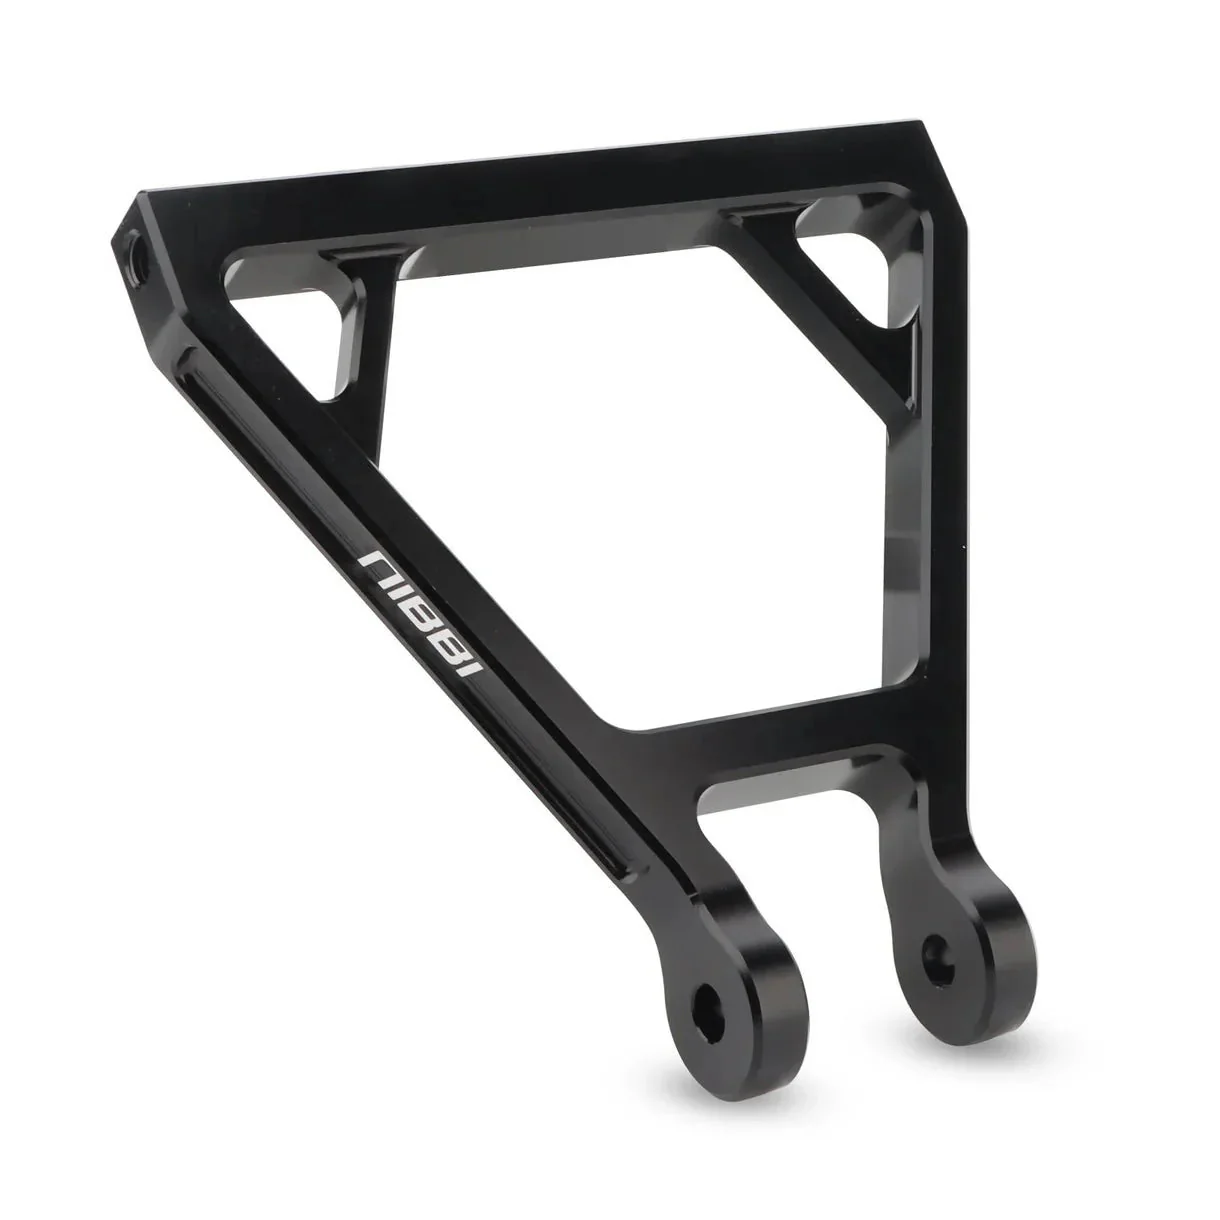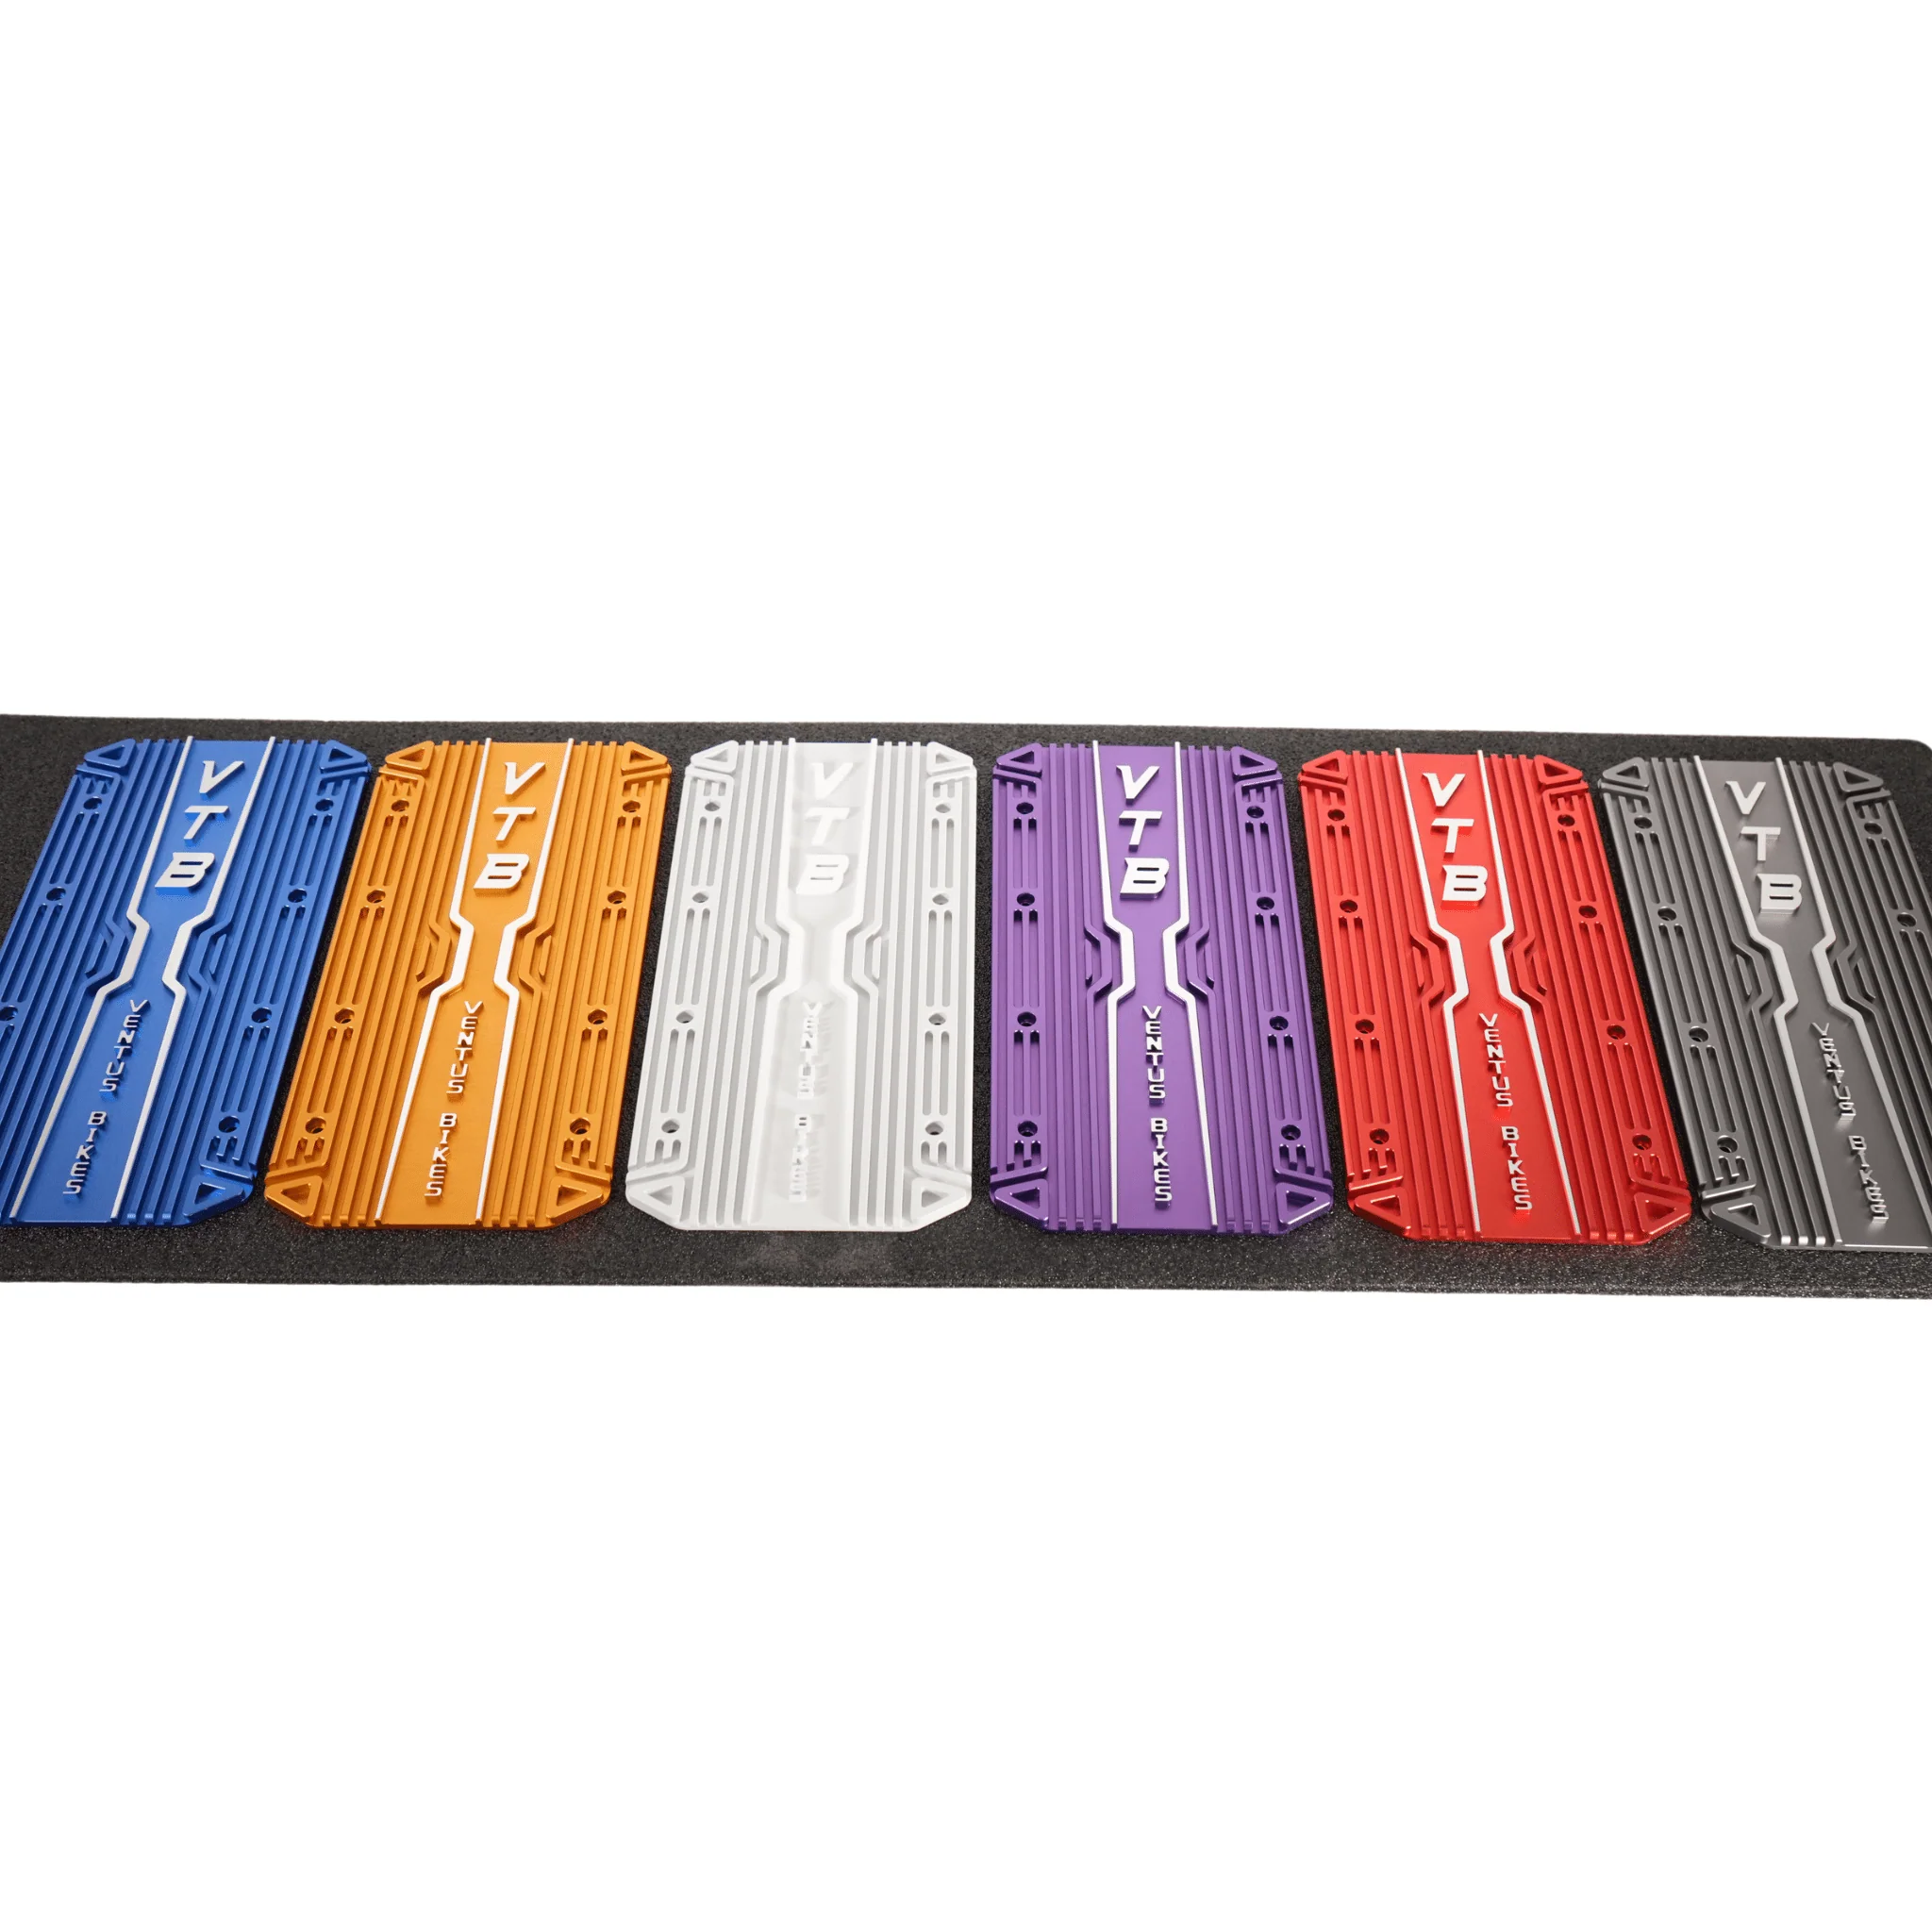
Ventus Heatsink (V9600)
Compatible with:
Ventus V9600 Controller (Version 2.0 – Current)
Is this heat sink compatible with my controller?
Yes! If your Ventus V9600 controller’s existing heat sink is attached with two sets of four screws on each side (left and right), this heat sink will fit perfectly.
How do I install the heat sink?
- Remove the old heat sink: Unscrew and remove the eight screws holding the existing heat sink in place.
- Apply thermal paste: Spread a thin layer of thermal conductive paste on the back of the new heat sink.
- Attach the new heat sink: Align the heat sink with the screw holes, then reinsert and tighten the eight screws to secure it.
By following these steps, you’ll ensure optimal heat dissipation and help prolong the life of your Ventus V9600 controller.
Original: $59.00
-70%$59.00
$17.70Description
Compatible with:
Ventus V9600 Controller (Version 2.0 – Current)
Is this heat sink compatible with my controller?
Yes! If your Ventus V9600 controller’s existing heat sink is attached with two sets of four screws on each side (left and right), this heat sink will fit perfectly.
How do I install the heat sink?
- Remove the old heat sink: Unscrew and remove the eight screws holding the existing heat sink in place.
- Apply thermal paste: Spread a thin layer of thermal conductive paste on the back of the new heat sink.
- Attach the new heat sink: Align the heat sink with the screw holes, then reinsert and tighten the eight screws to secure it.
By following these steps, you’ll ensure optimal heat dissipation and help prolong the life of your Ventus V9600 controller.